Sunday, February 27, 2011

Etsy's Got Talent is Here!


Yes, Etsy's Got Talent has finally arrived. The grand winner is going to win a million dollars at the end of the season. Just joking!!! My new blog 'Etsy's Got Talent' is up and running though. In short I call it EGT. It can be accessed both at http://www.etsysgottalent.com/ and http://www.etsysgottalent.blogspot.com/.

Why did I start another blog? The reason is simple. I want to construct a shop directory of the best shops for Etsy shoppers and lovers. I call it the unofficial Etsy shop directory, an alternative way to shop Etsy. More categories are going to be added and refined on a regular basis. I've been working very hard on all the graphics I use on the blog. Shop and artist features are soon to follow. It's a growing process and I'm planning to add many more fun features to EGT.

It's a daunting task by any standard. It will take me a long time and a great deal of work to reach that goal. And of course I can't do it without help. I'm asking my blog readers to pitch in.

Here is how you can help:

♥ *Contact me if you want to be added to the directory (if you're a seller on Etsy) or when you discover new shops and I'll add it to the directory

♥ Promote EGT your own way, blog it, share it, tweet it... Send me feedback when you can so I'm aware of your effort

♥ Follow EGT and leave comments when you see something you're interested in


Please let me know what you think by leaving a comment.

Let's start discovering!

* Shops in EGT's directory are subject to approval at this point. Click here to see my full disclaimer.

Saturday, February 26, 2011

Etsy Lovers: How Much Do You Really Know about Etsy?


http://www.weddingbycolor.com/acowleysoontobe


Hello to all Etsy lovers! How much do you really know about Etsy? Have you ever tried to find out? I did and found many interesting facts. I had no idea before I went searching. I really had fun collecting all the information. Thanks to Wikipedia, which contributed to most of my success.

Please leave me a comment if you know any other fun facts of etsy. I'll be glad to add it to the list.

1. Etsy was launched on June 18, 2005.

2. Etsy is pronounced like Betsy, without the B of course.

3. Etsy was founded by iospace, a small company composed of Robert Kalin, Chris Maguire and Haim Schoppik.

4. Etsy was named for Rob’s maternal grandmother.

5. Jared Tarbell programmed all the flash features that make Etsy so beautiful.

6. There are no auctions on Etsy, only fixed price sales.

7. Etsy is popular as a side-business as well as a place to buy goods made from recycled and upcycled materials, along with less expensive or more unusual versions of mass-produced items

8. Along with handmade products, people on Etsy sell vintage items, homemade sweets, and craft supplies.

9. Etsy is one of the main members of the Handmade Consortium, a 2007 effort to encourage buying handmade holiday gifts.

10. In April 2009, users organized an "etsyday" promotion on Twitter that brought extra attention to the site.

11. As of May 2009, it has approximately 60 employees and sales of $10 to 13 million per month.

12.  In December 2010, Etsy said it had seven million registered users and $400 million in transactions for the year.

13. The average sale on Etsy is about $15 to $20 and mostly sold by women, who tend to be college-educated and in their twenties and thirties.

14. There is no charge to join Etsy. If you wish to sell here, we charge you only 20¢ to list an item, and take only 3.5% commission from each sale.


http://www.etsy.com/shop/rjdesignhut
 

Sunday, February 20, 2011

My Blog is One Month Old!!!

Time has flown by since I started my blog. It's been a very good month: 20 blogs, 762 views from 10 different countries, 18 followers at this moment... A terrific start for a newbie! I want to thank everybody who has helped me grow along the way: my readers, my followers, my etsy team members...

A special thank goes to my etsy BESTeam captain, Karen (Mysticwynd). She has been such a good mentor for me and I've learned so much from her. She is a firm believer that we should always strive to do just a little better than our personal best - and that you should never expect something for nothing. Please take a moment to read one of her most recent blogs.

Sunday Afternoon Reflections 02.13.11 Promise Yourself

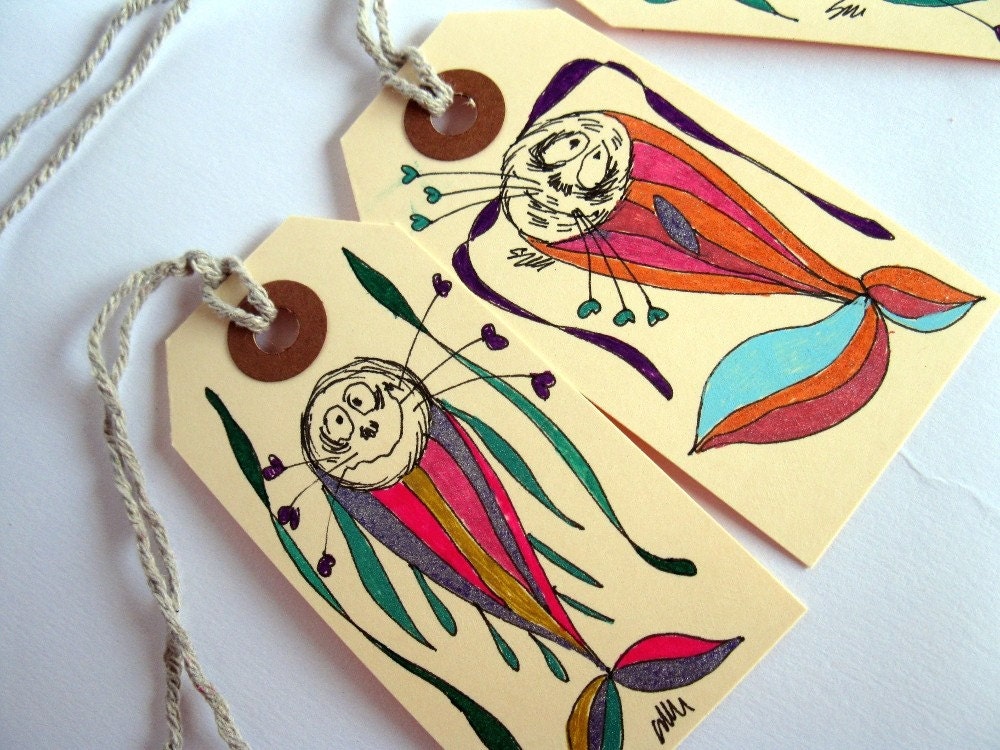
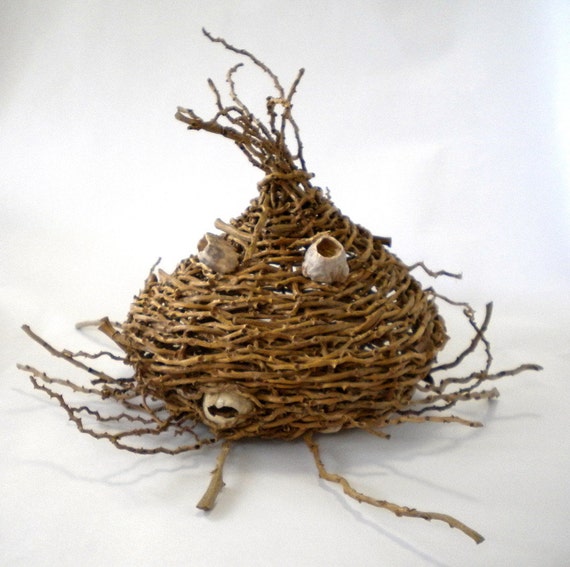
Now it's time for some fun stuff I discovered on etsy. You may find some of them a little different. That's totally fine. They can be fun and different at the same time, right? I had fun finding these and I hope you will too.


Handmade Gift Hang Tags - WEIRD FISHES Mix (set of 5)

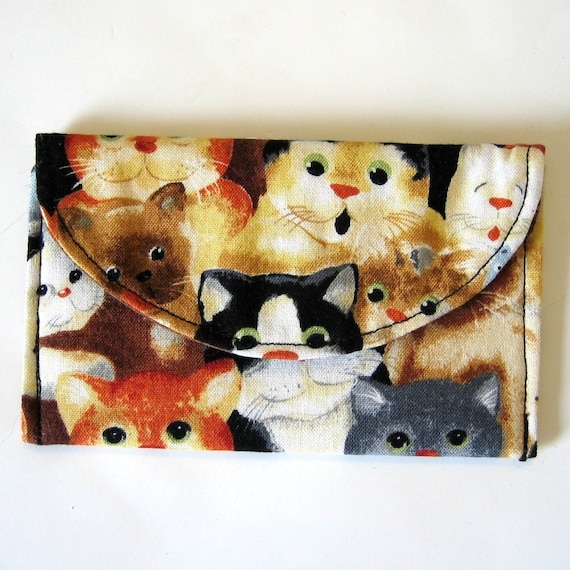
And this one is for cat lovers!

Cat Print Mini Wallet

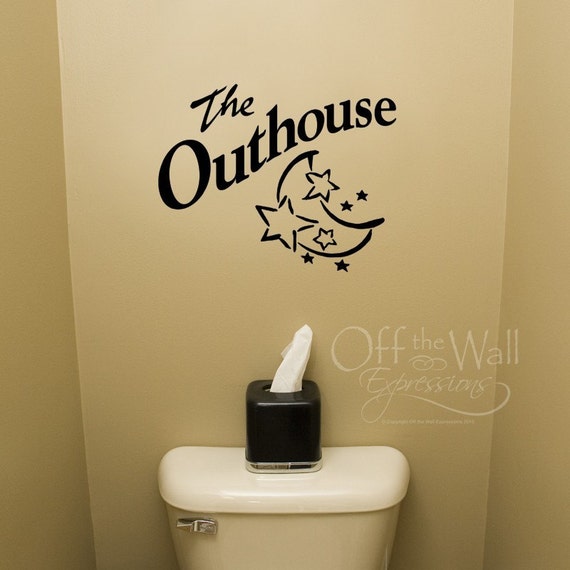
Here is a fun idea for your bathroom...


Vinyl decal The Outhousehttp
 

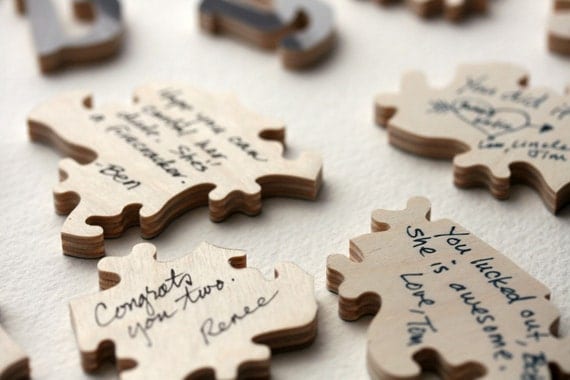
I think this puzzle is a great keepsake for newly weds.

Wood Wedding Puzzle (guest book)

Okay, I admit, this one is a little more different, funny though.


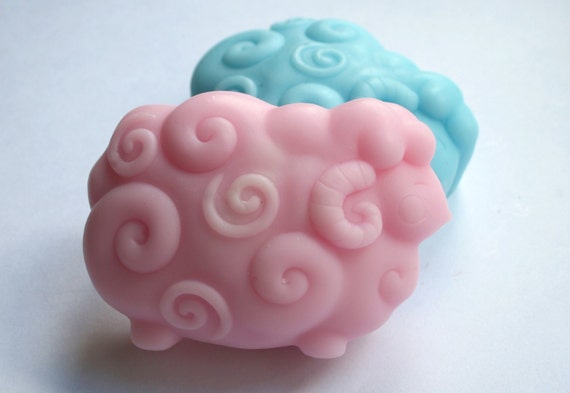
Now the sheep soap is really cute.


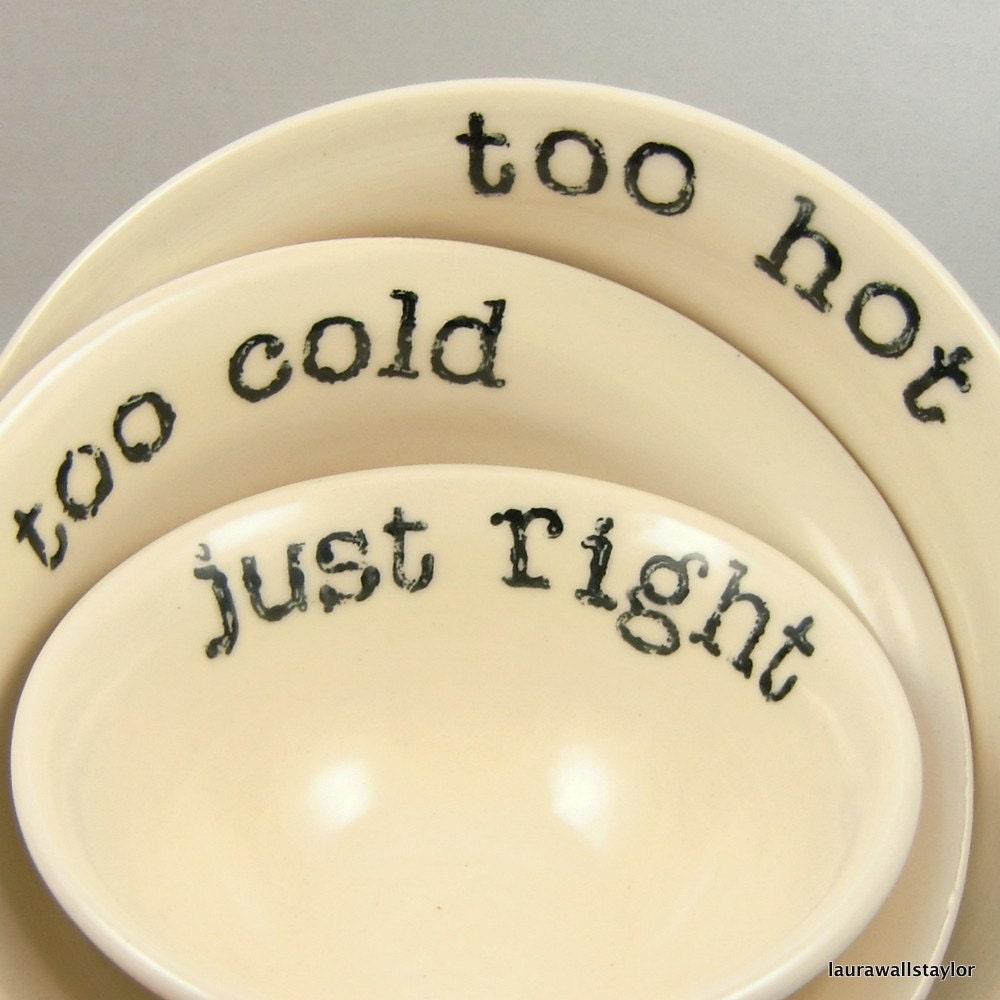
And I love these handmade bowls.


Goldilocks bowl set medium


I hope you enjoyed my fun finds on etsy. Let me know what you think by leaving a comment below or by clicking 'Contact' on the menu bar.

Saturday, February 19, 2011

How to Change Blog Width in Blogger

The first thing I did when I set up my blog was to change the width. Changing the width of your Blog will gain you some needed space for your widgets, pictures, ads, etc. or give you more room for your article, so you can place larger and wider photographs. I also added a third column myself.

The standard width of your blog in Blogger is 660 px. You can change it to a maximum of 1000 px if you're using Blogger Template Designer.

1. Go to your Blogger Dashboard and click 'Design'

2. Click 'Template Designer'

3. Click 'Adjust Width'


4. Change 'Entire Blog' to 1000 px

5. Change both side bars to your desired width (I changed both to 230 px for my blog)

6. Click 'APPLY TO BLOG' before you exit the page

If you don't use a blogger template, please check out the articles below to find our how to edit html to modify the width of your blog.
Related articles on the web:

How to Change Blog Width in Blogger

How to Change Blogger Blog Width

Change the Width of Your Blog - Make the Blog Wider

How do I have my Links Open In New Windows on my blog?

If you reference a lot of links to other blogs or websites like I do, you may want to have these links open in new windows. By doing this, it makes it convenient for your readers to view other web pages then return to your blog.You can also do the same with pictures that have links. Some experts think differently on opening links in new windows, please use your own judgement on what to do.

You can actually make all links within your blog open in a new window. Simply add a "<base target='_blank' />" to your blog, in the header.

Find
<head>

And change that to:
<head>
<base target='_blank' />

But please do this with discretion, especially if you have lots of links within your blog. You don't want your readers having to close a window each time they finish reading a linked article in your blog.

I usually code links to other websites or blogs individually so they open in new windows. If it's a link to my own content within my blog, I simply leave it alone.

Here is how you code a link to open in a  new window.

Below is a link that's going to open in the same window.

My Shop
Here is the source code for it.
<a href="http://www.etsy.com/shop/rjdesignhut%22%3EMy Shop</a>

Here is a link that's going to open in a new window.

My Shop
Now check out what's different here.
<a href="http://www.etsy.com/shop/rjdesignhut" target="_blank">My Shop</a>

It's so easy! I couldn't believe it myself the first time I did it.

It's the same with pictures.

Below is a picture with a link that's going to open in the same window.


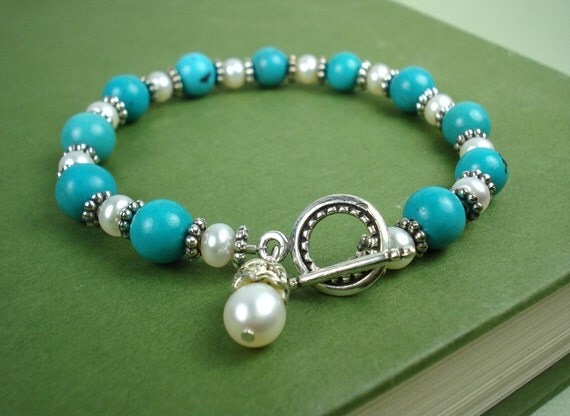
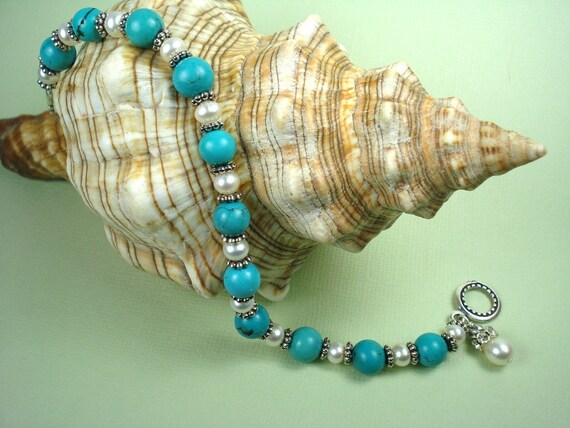
<a href="http://www.etsy.com/listing/68200667/turquoise-pearl-bracelet-with-sterling" style="clear: left; cssfloat: left; float: left; margin-bottom: 1em; margin-right: 1em;"><img border="0" height="145" j6="true" src="http://ny-image3.etsy.com/il_570xN.217586439.jpg" width="200" /></a>

Now add the highlighted part and the picture will open in a new window.


<a href="http://ny-image0.etsy.com/il_570xN.217586468.jpg" imageanchor="1" style="clear: left; cssfloat: left; float: left; margin-bottom: 1em; margin-right: 1em;" target="_blank"><img border="0" height="149" j6="true" src="http://ny-image0.etsy.com/il_570xN.217586468.jpg" width="200" /></a>

Now here is a tip for you while you're browsing on the web. If you use Internet Explorer, right click on a link, by choosing between Open, Open in New Tab (older version of IE doesn't have this option) and Open in New Windows. You're totally in control how a new page will open, so don't forget to right click. When everything else fails, right click.

If you're still unsure whether you should have your links open in new windows, please check out some of the articles I found on the web.


Related Articles on the web:


Beware of opening links in a new window


Friday, February 18, 2011

The Pendant Studio - Let's Get Personalized!

I'm always drawn to jewelry that's been personalized, either with a family photo or initials. Personalized jewelry makes me feel special because I know it was made just for me.

Who wouldn't want something that's personalized just for them, one of a kind jewelry or a keepsake. That's what the Pendant Studio is all about. Of course there are also plenty of non-personalized ready to ship items for you to choose from.

Aimee, a full time Crafter and part-time Groundskeeper is the artist who makes these great pendants and charms. She started crafting when she was little. She says it's in her blood. She also loves to paint, working with mixed medias, card making, and playing with solder and glass.

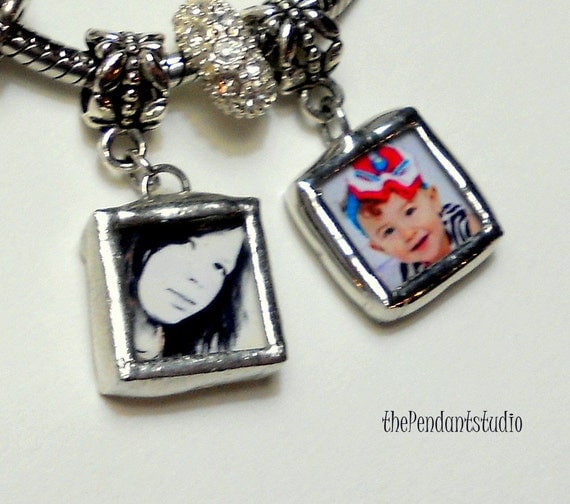
Check out this Pandora Style Customized Photo Bead Charm. Simply email her the photos and she will turn them into a little memory for you to wear.


Pandora Style Customized Photo Bead Charm by the Pendant Studio

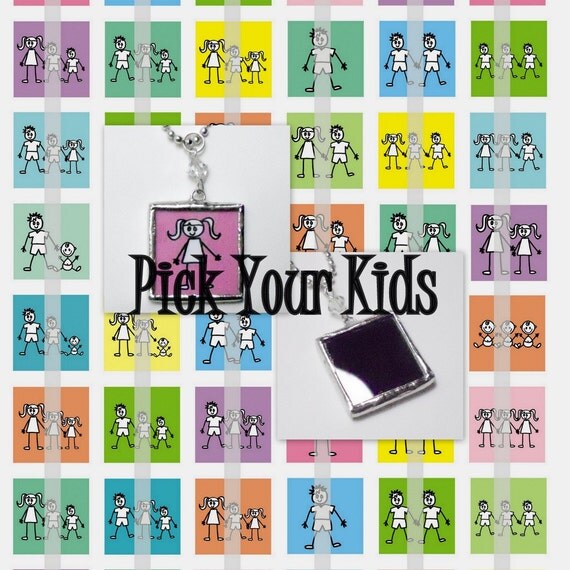
And for people who have kids, these Custom Stick Kids soldered pendants are so much fun. You can pick any of these designs and turn them into your favorite pendants. Her glass tile pendants are soldered together with 4% silver, lead free solder, all by hand, so each piece is unique.


Pick Your Kids stick kids custom soldered glass tile pendant


Be sure to check out her collection of ready to ship soldered pendants.


Soldered Pendants

Now are you ready to get personalized?

Monday, February 14, 2011

Fill Your Home with Love

Happy Valentine's Day! A bit late but nonetheless a sincere one. To all the love birds, I hope your home is filled with love. I just curated a treasury to give you some ideas on what you could use to fill your home with love, literally...


I've met people who got married or got engaged on Valentine's Day. A good idea on one hand, your husband will never forget the anniversary. On the other hand, good luck making a reservation at your favorite restaurant...

For those who got engaged on Valentine's Day, congratulations! Maybe the big day is not far away. Have a summer wedding in mind? Check out this lovely treasury for some ideas.


Good night!

Saturday, February 12, 2011

Llama Love

I fell in love with llamas on a trip to Chile with my husband. We passed numerous llamas farms on the road. With lush pastures, temperate California climate, these Chilean llamas seemed to be very happy. I regret so much that I didn't get any pictures of them. Sigh.

I did get a little ceramic llama to help me remember them and the beautiful country.


And sorry, he is not for sale. He is too precious to me.

I was taking pictures of a couple freshwater pearl bracelets I made today and my little llama became part of my photo shoot. Thanks to his help, I just finished posting the bracelets in my shop on etsy.


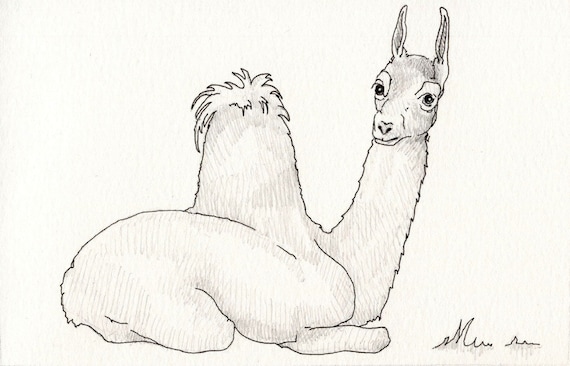
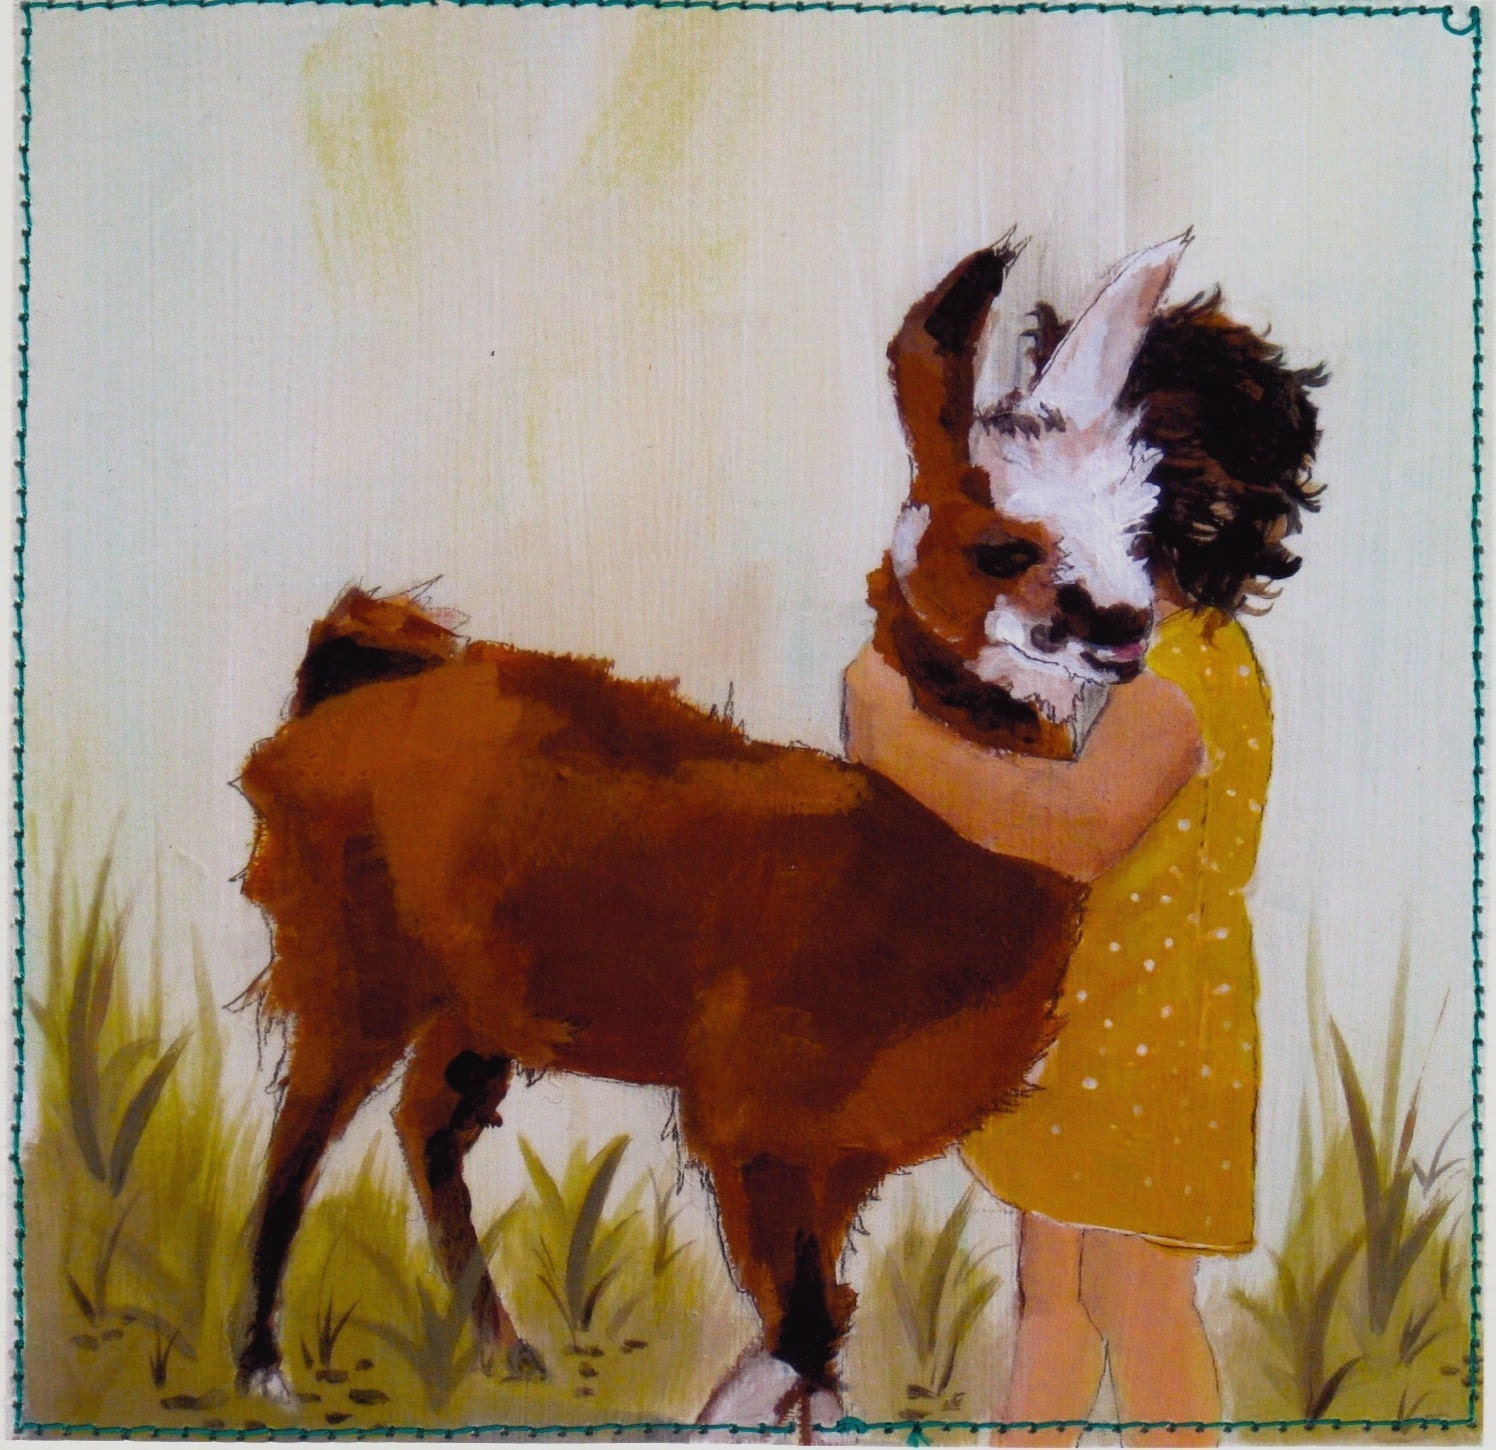
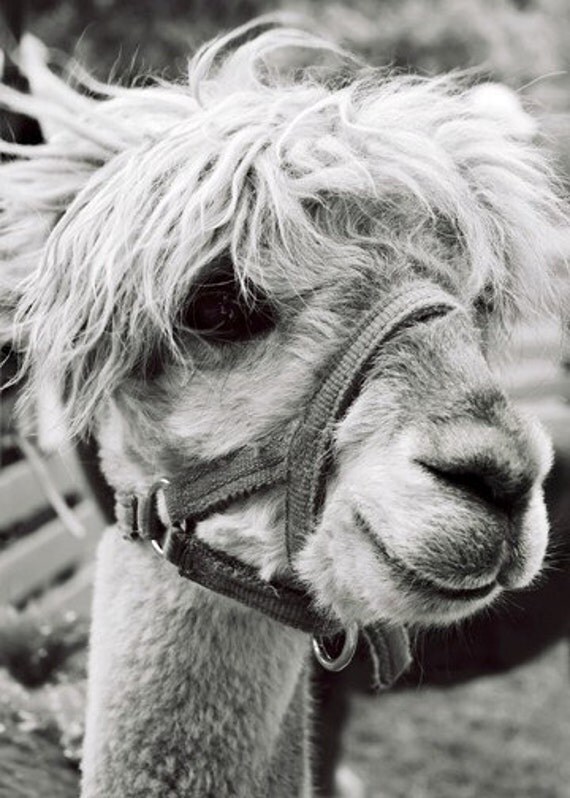
Feeling inspired, I started searching on etsy and I found some lovely llama items I absolutely adore.

By Hells Sewing Circle


By Tastes or Angey
 
By Kelly D Brown

Liz, a friend I met not too long ago, actually owns a llama farm. In 1990, in search of a new life-style and a larger, more affordable "farm", her husband Allen and Liz moved from the island of Maui to beautiful southern Oregon. They also brought all their critters with them, including their dogs, cats and birds from Hawaii. Slowly they added chickens, dairy goats and llamas to their growing family farm which they named Bolt Mountain Farm.


Adorable llamas at Bolt Mountain Farm


They also offer a complete line of soap and body products made from fresh goat milk on their website:


Using only fresh, whole, hormone and antibiotic free milk, from their happy and healthy Nubian goats, along with other natural ingredients, they've developed soap and body products that have the skin nurturing, moisturizing and healing properties of fresh milk.


Without very little advertising their soap was almost sold out after the holiday season last year. It's the down to earth wholesomeness of their products that brings their customers back time and again. Purely word of mouth! Now they sell their soap to places as far away as Japan. A group of Japanese ladies have become their loyal customers.

Let's meet part of her production crew here.


Aren't they adorable! I guess it's time to say good-bye for today. We can talk about goats some other day! Ok, just kidding. Thank you for reading my blog. Good night!

Thursday, February 10, 2011

Blogging for Bliss

I just ordered a beautiful book, 'Blogging for Bliss' on bn.com and I can't wait for it to come. The book was written by Tara Frey, a contributing editor to several national magazines. I'm sure I'll benefit from the information provided.


'Blogging for Bliss: Crafting Your Own Online Journal' is Tara's first book. It was released in August of 2009 by Lark Books and it was the first book of its kind in the Crafts & Hobbies section which reached #1 on Amazon upon it's release. The book has now gone international to Canada, Australia, and the UK.

Sounds impressive! And I can't believe it's only $6.71!!!

I love her blog. Here is just a snapshot of her artistic and heart warming style.


Tara Frey: Typing out Loud

Here is what one reader said about this book:

'Blogging for Bliss is not only for the beginner blogger but for the advanced as well. As a crafter, this book is just what I needed. It's beautiful, inspiring, yet informative at the same time. And I love the bloggers featured throughout the book. It's interesting to see what blogs they read and what inspires them. I highly recommend this book for beginners to experts in the creative blogging world!'

-----✂----------------------------------------------------------

I'll let you know what I think when I receive the book. Stay tuned!

Tuesday, February 8, 2011

Crafted with Love

As a BESTeam member, I'm going to start my weekly feature on my talented team members starting today. They're a very energetic bunch. Stay tuned for more to come every week.

-----✄--------------------------------------------------------------------------------------------------

Crafted Love is a fresh etsy shop you don't want to miss.

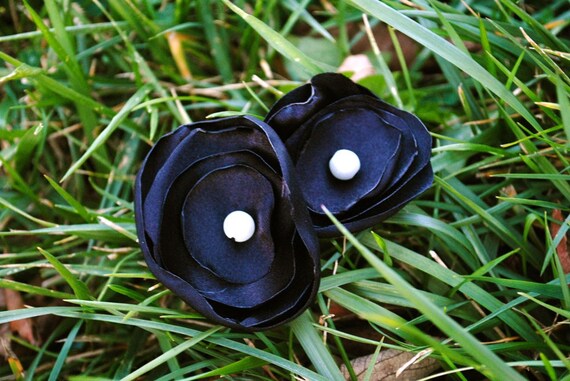
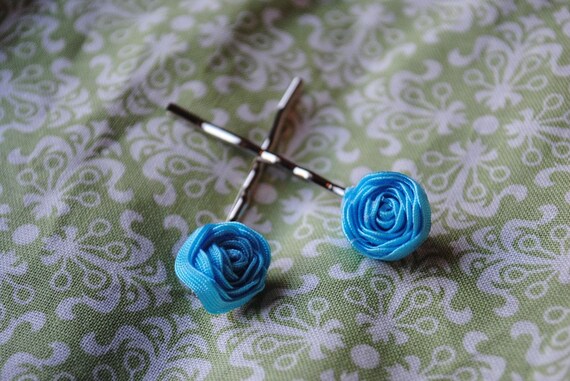
Alison Kaye, an energetic young architecture/graphic student from a small town in Ohio is behind these beautiful headbands and barrettes for women and little girls.


Tiffany Blue Satin Rosette Hair Clip

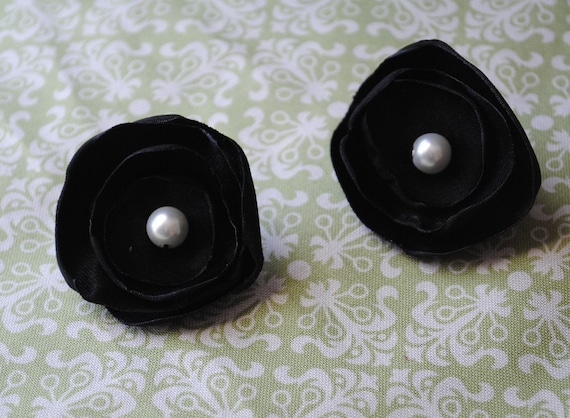
Double Black Silk Flower Barrett

Set of Two Baby Blue Rosette Bobby Pins

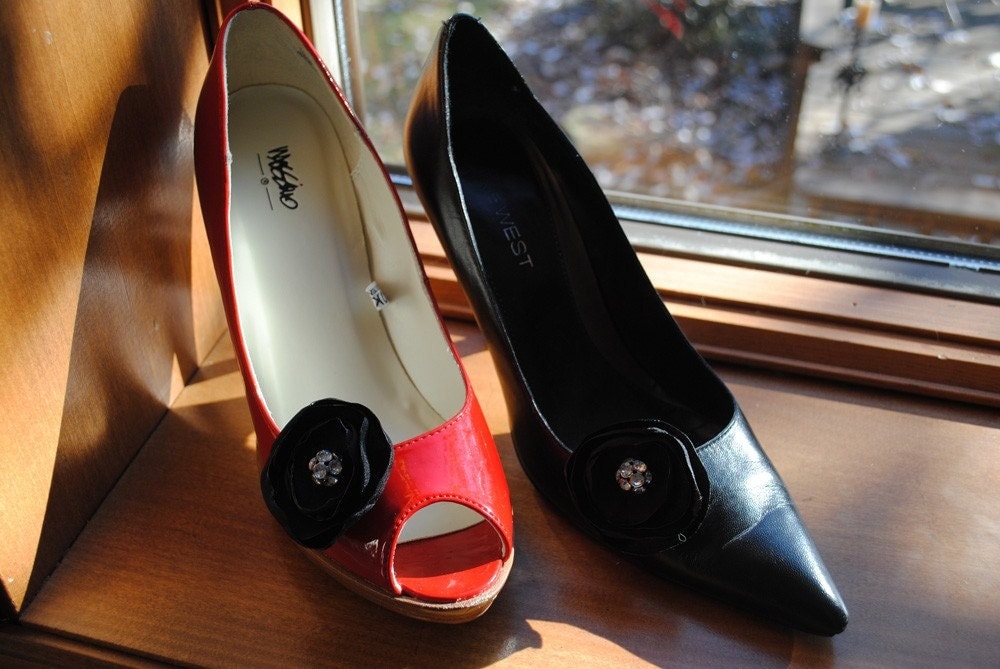
My personal favorites are these gorgeous shoe clips. They can dress up any of your plain looking shoes and give them new life. What a great idea!


Set of Black Satin Floral Shoe Clips

Alison is a full time design student and part time graphic designer currently. Her lifestyle blog focues on her crafts, DIY projects, and creative inspiration. She blogs about all sorts of things, but you'll see her main features, Etsy Must Haves, and Thursday Treasures almost every week.

Visit Alison's blog if you want to find out more about her. 


She has a fun and engaging blog and I'm sure you're not going to be disappointed. And be sure to check out these fun facts of her.


Monday, February 7, 2011

Tutorial: How to Make a Chinese Jade/Stone Bracelet with a Sliding Extender - It's so easy! (Part 2)

Now the real fun begins! It may be a little bit challenging for some people but I know you can do it if you put your heart into it.

The sliding extender is basically a flat knot in Chinese knotting terms. Having a pair of cords in the center is the most versatile form when it comes to bracelet and necklace making. The center cords are known as 'lazy' cords. Now we're going to use the leftover cords from the bracelet you've been working on as the lazy cords. Lay the two ends of the cord parallel to each other but pointing in opposite directions. Please see the picture of the finished bracelet below.


I usually tie the flat knot before I tie the last two small beads in place. That way I can decide on how long I want the two little 'tails' to be. When the bracelet is fully closed, the tails are about 1" long. It's your preference whether you have them longer or shorter.


Now cut two 10 - 12" cords. In order to show the process more clearly, I have three different colored cords here.

The flat knot consists of two overhand knots: the first is worked left over right, around the lazy cords: and the second is worked right over left, also around the lazy cords.


Tighten the cords as you go and make sure they're tight before you go to the next step. Repeat step 2 and 3 until you have 3/4" to 1" in length. First, cut off the extra cord from one of the four ends with a pair of scissors, leaving only about 1/8" in length. Seal that end with a candle flame and press it flat. Repeat the same process for the rest of the three cords. Please see the finished knot below


Now pull the two center cords away from each other until the bracelet is fully closed. Tie a knot about 1" away from the flat knot. Add one of the two 6mm beads and tie another knot on the other side of the bead to hold it in place. Seal the end. Finish the other end in the same way.


Now you have a finished bracelet you made yourself. If you have any further questions, don't hesitate to ask.

If you want to try this but don't have the supplies, I have a bracelet kit available in my etsy shop now. Your supplies are for two adult-size bracelets and will arrive in a beautiful organza bag. You can keep your very own handmade bracelets in it after you're done.

For more information about this kit, click on the link below.


Sunday, February 6, 2011

Tutorial: How to Make a Chinese Jade/Stone Bracelet with a Sliding Extender - It's so easy! (Part 1)


I bought a book on Chinese knots by Suzen Millodot several years ago. It was a well-written book and very easy to follow. I've mastered some of the knots myself.


Utilizing what I've learned, I created some of my own pieces. I'm going to show you one of my favorite projects. Whether you create these fun bracelets for kids or adults, the idea is the same.

Everything you'll need is in the picture below, almost everything anyway. You'll also need matches or a lighter.


Materials you'll need for making the bracelet:
1. Sixteen to twenty-two 8mm jade beads or other stone beads (Of course it's totally up to you how many beads or what size beads you use. Make sure the cord you use go through the holes of your beads fairly easily. Sixteen 8mm beads will make a kid size bracelet of about 5-1/2" and you can make a bracelet of about 7-1/2" with twenty-two 8mm beads including the extentder)
2. Two 6 mm jade beads or other stone beads
3. 4' satin cord (this gives you extra to spare)
Tools you'll need:
1. Headpin
2. Scissors
2. Candle
3. Matches or lighter

Cut 20" to 2' satin cord first and tie a knot at about 5" to 6" from one end of the cord. Light your candle first and put the other end of the cord (the end without the knot) into the flame for a couple seconds or until you see that the cord has just started to melt. Immediately pull the cord away from the flame and  form a sharp end. Please see the picture below.


Pull the sharp end of the cord through an 8mm bead and pull it against that first knot. Use a headpin to help push the cord through the bead if necessary.


Now it's time to tie the second knot. Please follow the pictures shown below to find out how to tie it closely against the first bead.


Repeat the same steps for the rest of the knots. Make sure they're tied against each bead. I just realized I don't have all the pictures for the sliding extender. I'll make this part 1 and finish it tomorrow. Stay tuned!


Part 2 is here!

Saturday, February 5, 2011

Artworks by themselves - Lovely Treasuries Curated by ScrapHappyLyrebird on Etsy

There is an overwhelmingly large amount of treasuries curated by talented etsy artists everyday. One artist stood out by delivering consistant results every time. They always catch my eyes from the very first glance. I'm showing you only the tip of the iceberg here. View more of ScrapHappyLyrebird's treasuries:

http://www.etsy.com/people/ScrapHappyLyrebird/treasury?ref=pr_treasury_more


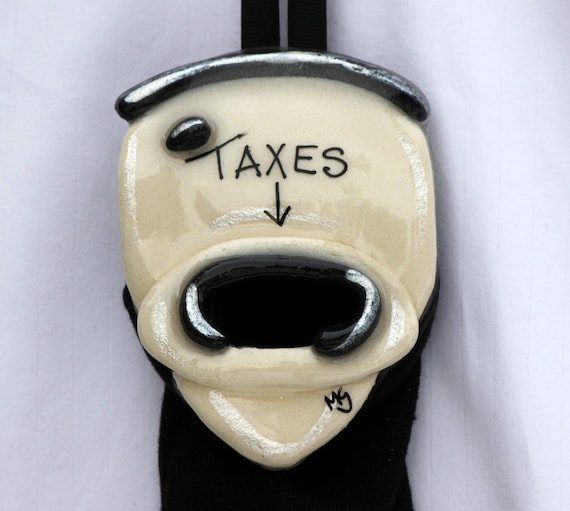
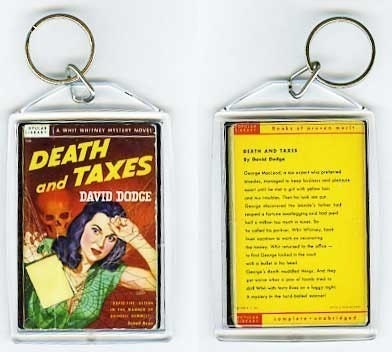
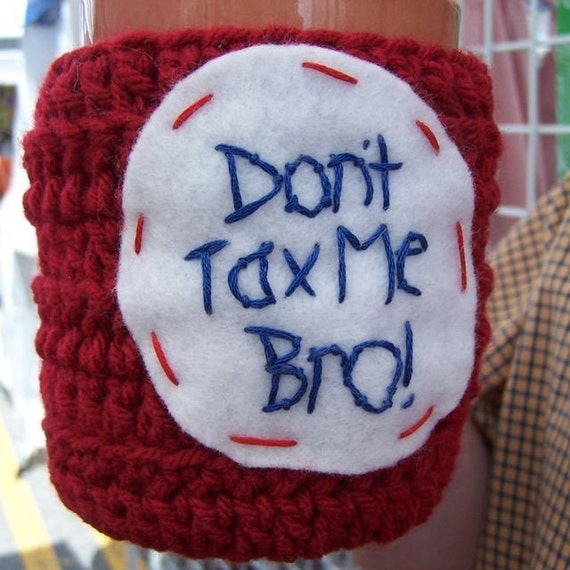
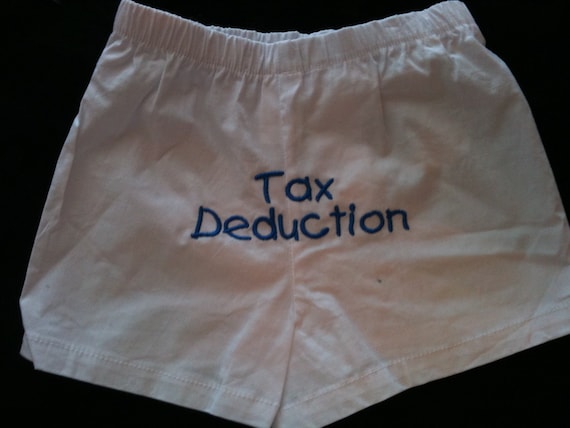
Tax Time Humor - Fun Discoveries on ETSY

It's that time again for a lot of us. I thought it would be a good idea to bring some humor into this seemingly endless era. I found these fun items on etsy. The artists are a very creative bunch. Enjoy and have a hearty laugh!